When we visit a doctor and are asked to provide a blood sample, swab, or tissue biopsy, it is easy to overlook the complex journey that sample will take behind the scenes, between that moment and receiving a diagnosis.
Pathology labs are the critical and yet mostly unseen element of modern medicine, playing a vital role in diagnosis, monitoring, and treatment. In the UK, for example, pathology services underpin roughly 70 percent of all diagnoses made by the NHS.
But what exactly happens between the moment a sample is taken and the moment a result appears on a clinician’s screen?
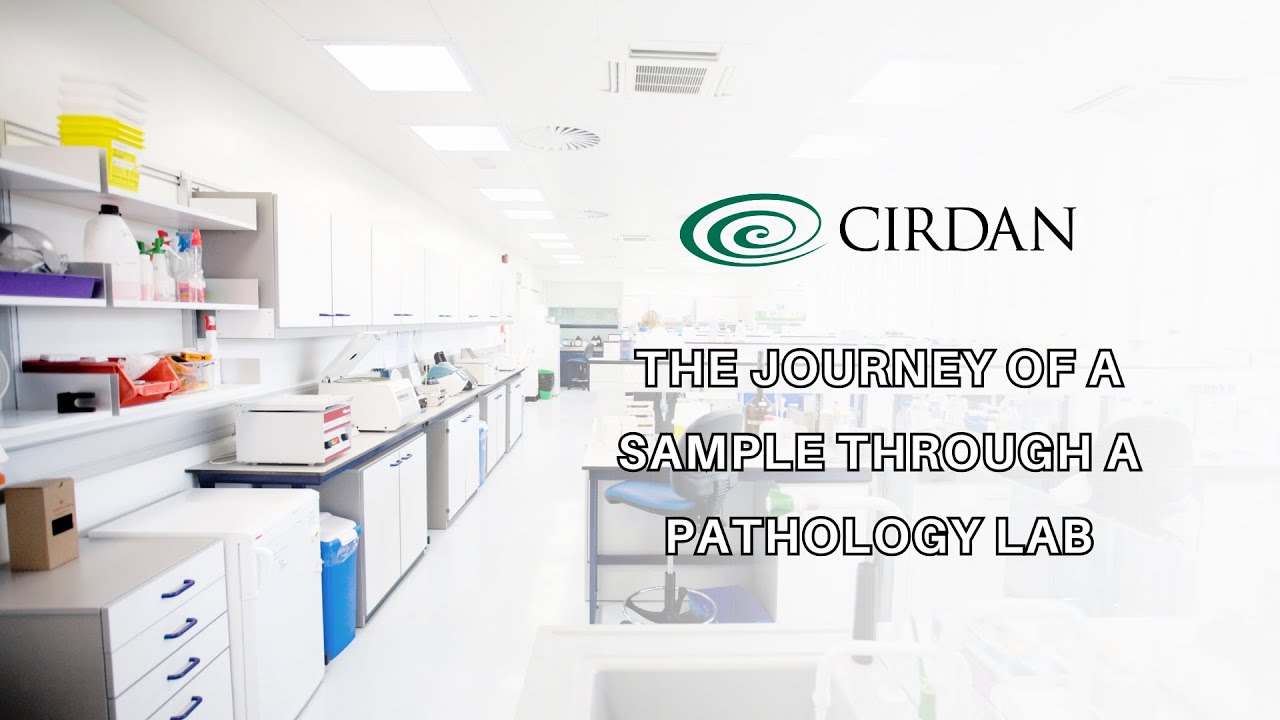
Let’s take a closer look at the journey of a sample through a pathology lab.
Step 1: Sample Collection
The journey of the sample begins in a clinic, hospital ward, or GP surgery. A healthcare professional collects the sample, which could be anything from a blood tube to a tissue biopsy or a urine specimen. Each sample is carefully labelled with a unique patient identifier to ensure accurate tracking and to ensure that is associated with the correct patient. The accompanying request form, either paper-based or electronic, contains vital information including the patient’s details, clinical history, and the specific tests requested.
Step 2: Transport to the Lab
Once collected, the sample is sent to the appropriate pathology lab. This may be located within the same hospital or at a centralised laboratory hub. In many parts of the UK, pathology services have been consolidated into larger networks to improve efficiency. Transport teams or dedicated couriers ensure that specimens reach the lab promptly and in the correct conditions. Some samples need to be kept at specific temperatures, while others must be processed within tight timeframes to preserve their integrity.
Step 3: Reception and Accessioning
At the lab, the sample enters the first stage: the pre-analytical phase. Biomedical scientists or laboratory assistants receive the specimen, verify its labelling and documentation, and enter it into the laboratory information system (LIS). This process, known as accessioning, generates a unique lab number that will follow the sample throughout its journey. At this stage, any discrepancies are flagged and resolved before testing begins.
Step 4: Preparation and Processing
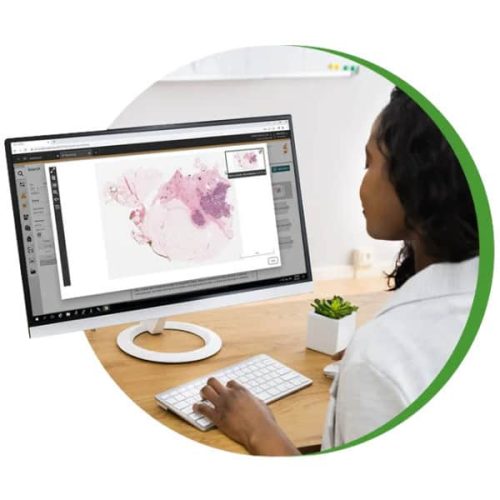
Depending on the type of test, the sample is prepared for analysis. In biochemistry, blood samples may be centrifuged to separate plasma or serum. In microbiology, swabs are cultured on specialised media to encourage bacterial growth. In histopathology, tissue specimens are fixed in formalin, embedded in paraffin wax, and sliced into ultra-thin sections ready for staining.
Automation plays an increasingly important role in this phase. For some disciplines, equipment such as robotic platforms can prepare hundreds of samples per hour with high precision, allowing biomedical scientists to focus on quality control and interpretation rather than the repetitive work of sample preparation.
Step 5: Analysis and Interpretation
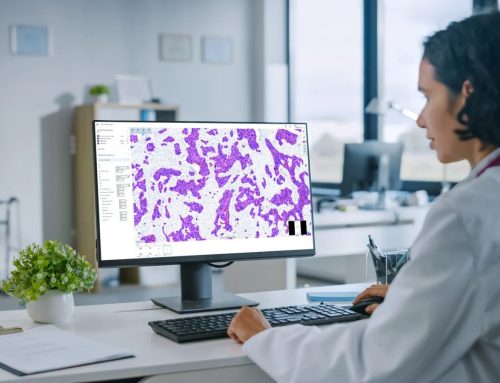
Stage 5, the analytical phase, sees the core scientific work take place. Advanced technologies such as mass spectrometry, polymerase chain reaction (PCR), and immunoassays are used to measure everything from glucose levels to genetic mutations. In microbiology, pathogens are identified, and their susceptibility to antibiotics is tested. In histology, pathologists examine stained slides under a microscope to identify abnormal cells or cancer.
Biomedical scientists and clinical scientists work closely with pathologists to ensure results are accurate and clinically relevant. Quality control is rigorous. Daily checks and regular participation in external quality assurance schemes is essential to maintain high standards.
Step 6: Reporting and Communication
Once analysis is complete, the results are validated by a qualified scientist or pathologist and entered into the LIMS. Results are then electronically transmitted to the requesting clinician in the hospital or GP surgery. In urgent cases, the lab will phone the result directly to the clinical team.
Pathology reports are more than just numbers. They often include interpretive comments to guide diagnosis or suggest further testing. In multidisciplinary team meetings, pathologists discuss complex cases alongside surgeons, oncologists, and radiologists to plan patient care.
Step 7: Storage and Disposal
Samples are not discarded immediately after testing. Most are stored for a period of time defined by legal and clinical guidelines, in case any repeat testing or further investigation is needed. For example, histology blocks and slides may be kept for up to 30 years. Eventually, all samples are disposed of according to stringent biohazard regulations.
The Unseen Faces Behind Every Diagnosis
The journey of a sample through a pathology lab is a carefully choreographed process combining science, technology, and clinical expertise. The dedication of biomedical scientists, pathologists, and support staff who work behind the scenes is underrecognised on a global scale. The work they do every day provides clinicians with the information they need to diagnose each individual patient, and ultimately to help guide their treatment towards recovery.
Author: Bronagh McStravick
Share this article

Follow us
Get Pathology News Delivered to Your Inbox